(Disclaimer:This post may contain affiliate links which means I may receive a commission for purchases made through links. I will only recommend products that I genuinely believe in) Learn more.
As I explained in my other blog post, we had successfully executed the hydroponic garden project at my friend Clara’s house. It went really well!
So, we decided to challenge ourselves again – this time, growing microgreens indoors at my place in New Jersey.
Now, if you’re not familiar with “microgreens,” let me explain. These are tiny seedlings from veggies and herbs. You can harvest them just a week or two after they sprout.
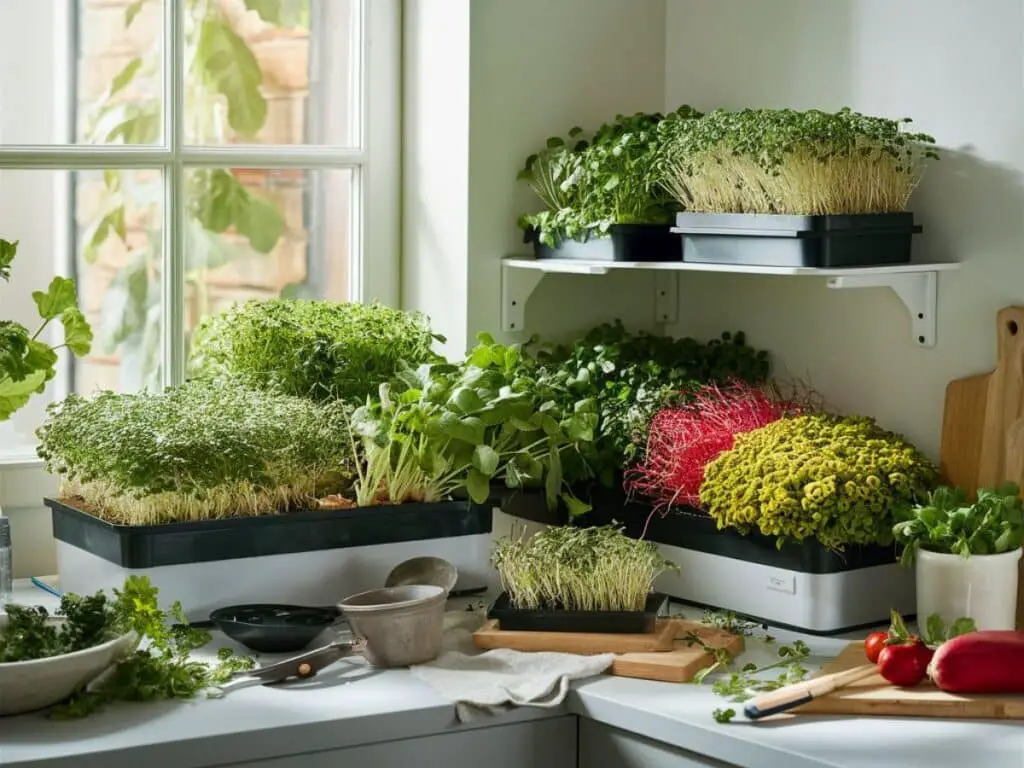
Think of them as the cute little toddlers of plants—adorable but super nutritious! Seriously, don’t underestimate their tiny size; they pack a big punch when it comes to health benefits.
Indoor microgreens have multiple advantages, particularly for urban dwellers. You are provided with fresh vegetables throughout the seasons regardless of weather conditions outdoors.
Can you believe, some microgreens have up to 40 times more nutrients than full-grown plants? It’s like having nature’s multivitamin right on your plate!
Basic Supplies required to grow microgreens
To kick off your indoor microgreen garden, you need some basic stuff:
- Growing trays (make sure they have drainage holes!)
- Organic potting soil or coconut coir & hydroponic mats. Soil gives nutrients, but hydroponic mats are clean & easy.
- Microgreen seeds (start simple! Radish, pea shoots, or sunflower are great picks)
- A spray bottle or misting system for watering
- Grow lights (unless you’re lucky enough to have a sunny windowsill)
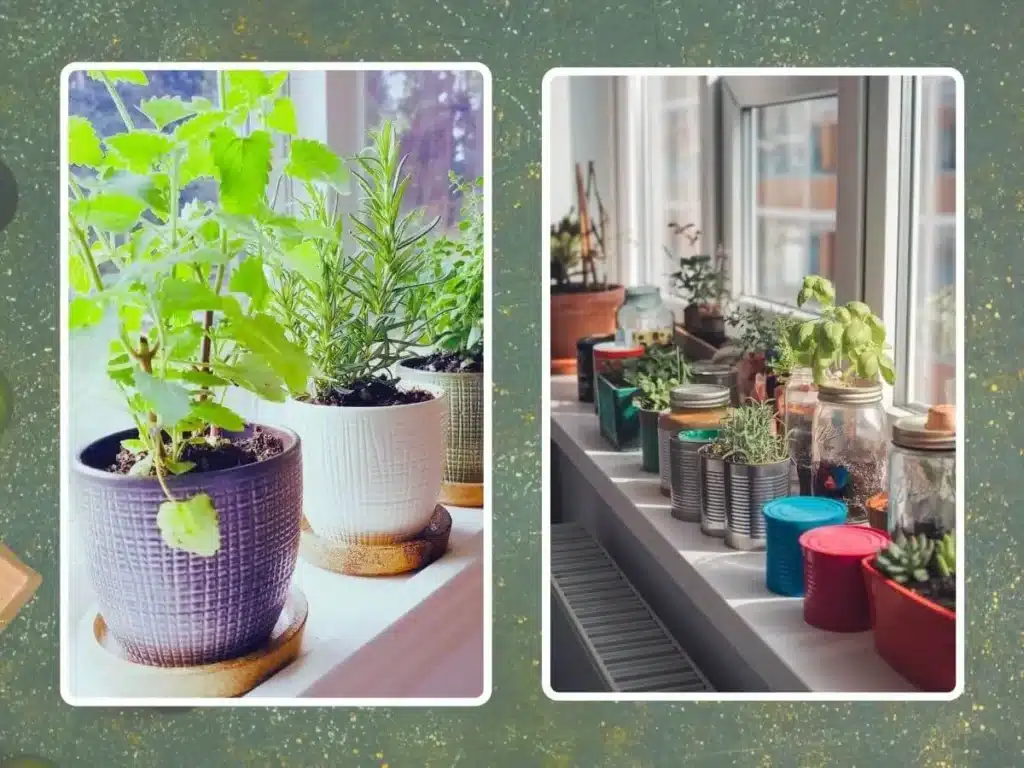
Honestly, you don’t need anything fancy to start! I began with some plastic containers from my recycling bin!
Can Hydroponics Work for Microgreens?
Absolutely! I started with soil first, but hydroponics is getting popular too! It’s a bit trickier at first but can help your greens grow faster & make cleanup easier.
Step-by-Step Process to Grow Microgreen Indoors
- Prep Your Tray: Fill your container with about one inch of moist soil.
- Sow the Seeds: Sprinkle those seeds evenly across the top. Don’t pack them too tight; air needs to circulate!
- Cover Up: Gently press the seeds into the soil & add a light layer over them.
- Mini Greenhouse Time: Cover the tray with clear lids or plastic wrap to keep moisture in.
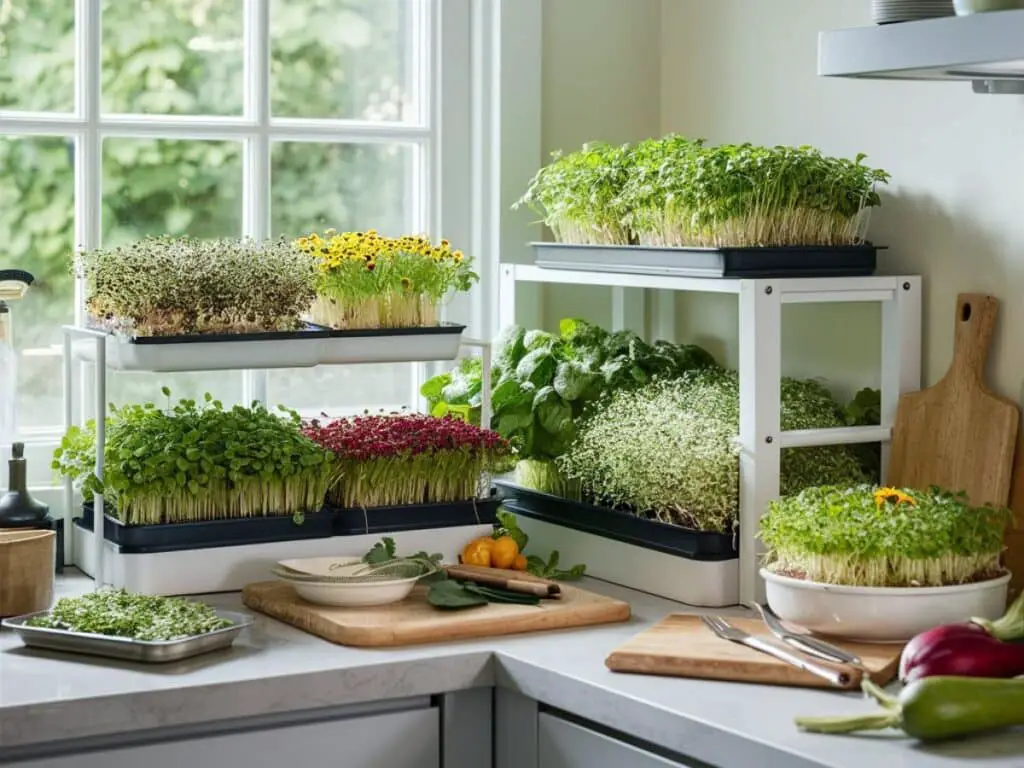
- Pick a Cozy Spot: Put your tray in a warm area— I set up my own corner in the kitchen just for my microgreens.
- The Waiting Game: In 2-3 days, little sprouts will appear—it’s magic!
- Let There Be Light: Once they sprout, take off the cover & move your tray somewhere sunny or under grow lights.
- Mist Daily: Keep the soil moist but don’t drown it!
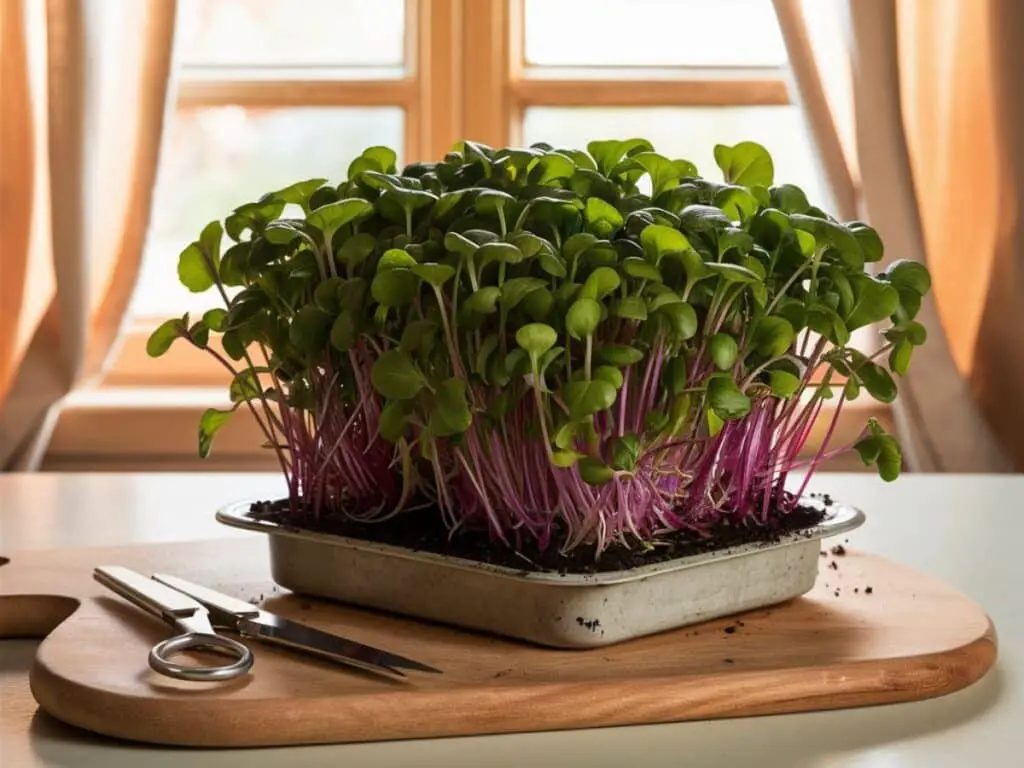
- Harvest Time: When true leaves pop up in about 7-14 days, it’s time to enjoy what you’ve grown!
FAQ About Growing Microgreens
How long till my microgreens are ready?
Most are good to go in 7-14 days! Some, like radishes, can be ready even faster around 5-7 days while beets might take about 21 days — it’s like waiting for deliciousness!
Do I need special lights?
A sunny windowsill does work well! But grow lights help with consistent growth especially if winter days are shorter. I started with a simple LED light and it made such a big difference in my New Jersey apartment.
Can I reuse the soil after harvesting?
Nope! It’s better to use fresh soil every time you plant new seeds because old roots can mess things up and fresh soil keeps diseases away.
Common Problems When Growing Microgreens
Sometimes things can go wrong when growing microgreens! Here are some issues with tips:
- Mold and fungus -> Improve air circulation & cut back on watering.
- Leggy seedlings -> They’re stretching for light; move them closer!
- Uneven growth -> Rotate your tray every day for even lighting.
- Seedling damping-off -> Use clean growing mediums & trays; avoid overwatering and give them enough light.
Keep that temperature between 60 and 75°F! I’ve found that staying at a stable room temp really helps my microgreens grow nicely.
Eating Your Homegrown Goodies!
Now comes the best part, eating those delicious homegrown treats! Microgreens are super versatile.
You can toss them into salads, mix them into smoothies, or use them as zesty toppings on soups or sandwiches. My fave is making a mind-blowing microgreen pesto!
More FAQ About Indoor Microgreen Growing
How do I keep my harvested microgreens fresh?
Gently wash & dry them after harvesting then store them in the fridge with paper towels inside the container—they usually last about a week though honestly, they’re so yummy they hardly last that long!
What are some easy microgreens for beginners?
In my experience radish, pea shoots & sunflower microgreens are awesome starters—they sprout quickly & love to grow plus they taste great!
What are the most popular microgreens to grow in the United States?
Preferences vary quite a bit but some super popular ones include Arugula, Broccoli, Radish Pea shoots Sunflower Kale Cilantro Basil.
Are sprouts and microgreens the same thing?
Nope! Both are young plants—sprouts grow in water and you eat everything (roots & all) while microgreens grow in soil and you only eat stems and leaves. Plus microgreens usually get harvested when they’re older than sprouts.
Growing microgreens indoors is part of an exciting urban farming trend happening globally—It’s an easy step toward sustainability, no matter where you live—from a tiny New York apartment to a cozy suburban home!
If you found this useful, please share it with your friends on social media!

